Top 399+ Lightroom Presets: Download To Enhance Images And Speed Up Editing Process: This article is essential for image editors and photographers alike. Here, you’ll discover some of the most accurate and high-quality lightroom presets available for free, which you can download to enhance your images. The presets come in various styles, catering to all types of photographers. You’ll find a comprehensive collection that includes nostalgic, urban, street, faded, foggy, travel, shiny, soft skin, and attractive portrait presets, among others.
These presets are designed to complement your photos perfectly. They will help balance color and light effects, ensuring that facial skin appears soft and the images look appealing.
If you’re interested in learning how to download presets, where to begin with image editing, and tips for a successful editing process, a detailed guide is provided in the article below.

What Are Lightroom Presets
The preset tool function in lightroom ranks among the most used by a lot of people. This is because with this feature, most people can share their best photo editing settings with one another. One can add presets from the google web page as well. People can also make their original collections of presets. Anyway, Lightroom presets very much help to edit images faster and more efficiently. You can use this approach and improve the look of your images within no time.
Why You Should Use Lightroom Presets
It is advisable to use lightroom presets for they enhance and speed up the image editing process. They enable the sharing of one’s editing methods with other people. They assist in giving the image a professional finish within a few seconds. Even amateur editors can perform wonders in image editing thanks to presets.
The Future Of Lightroom Presets
Lightroom presets are set to transform the editing landscape in the near future. They are poised to become the go-to tool for anyone looking to enhance their images. Currently, this tool isn’t available in other editing applications, but we can expect it to be integrated with various platforms soon. The preset tools in the editing realm may even take on a new identity.
Benefits Of Image Editing With Lightroom Presets
Using lightroom presets enhances your editing skills and makes the process more efficient. By speeding up your workflow, you can save valuable time. Unleash your creativity in just a few moments and edit all types of images with ease. It’s important to raise awareness about image editing and provide value, while also considering charging for your services.
How To Install And Apply Top 399+ Lightroom Presets In The Lightroom App Full Guide
The process of adding presets in lightroom and applying them to images is quite straightforward. Even if you’re new to Lightroom, using presets is easy. Here’s a complete guide explained in detail.
How To Install And Use Dng Presets In Lightroom App
1. Step: First, download the DNG preset. Next, install the lightroom app and open it.
2. Step: Then, tap on the Add Photo option and select both the preset from your gallery and the image you want to edit.
3. Step: Now, open the preset, tap on the menu settings, and choose the Copy Settings option.
4. Step: After that, open the image in Lightroom, select the menu settings, and tap on the Paste Settings option. The preset will enhance your photo in just a few moments.
How To install And Use Xmp Presets In Lightroom App
The method of installing xmp presets in lightroom doesnt not resemble that of dng. For one, xmp presets are in a ready-made file format and also, it is possible to install more than one cmos preset in a very short while. The following is the method of attaching and using.
1. Step: First download the xpm presets zipped file Download.
2. Step: Now opens the Lightroom application, and it has to be some pictures that you want to edit preferably. Next, go to lightroom and open the picture, and choose the preset tool.
3. Step: At this point, click the three-dots icon and select the option for import for presets.
4. Step: Then, browse the folder in which you saved the zip file containing the presets.
5. Step: Now Press the zip file, the addition of presets will commence. Installing of presets might take a while, so please bear with us until it is fully done.
6. Step: When presets are ready, choose the desired animated preset and click. The image will get changed.
What Is Lightroom And How To Use It
Adobe Lightroom is by far the most well-known and widely used photo editing application on the market. This application offers amazing features for free to all photo editors. It offers photo enhancement options in the applications which are lacking in most of the other photo enhancing applications. The app has a reach of over one hundred million users. This app is accessible on all three devices android, iOS and, Windows. And for the purposes of editing, Lightroom offers a great number of otherwise free filters.
Important Note About Using Top 399+ Lightroom Presets
The key thing to remember when using Lightroom presets is that this feature is exclusive to the Lightroom app. Trying to add presets to any other editing application may lead to issues with your image editing. It’s possible that, in the future, we might see this feature available in other editing apps.
Adjustments After Applying The Preset To The Image
Let us tell you that not each preset will work correctly on each kind of image. The preset will work accurately on the same kind of images. That is why after applying the preset on the image, it is required to adjust it according to the light and colors of the image. What all needs to be corrected is explained in detail below, read and understand the complete guide.
Color Correction In the image
First of all make sure that there is no ill change in the colors of the image. If there is an ill change then where has it happened. In which color.
After this Select the Edit option and choose the Color Tool option. Now make adjustments in saturation, warm and cold effects, green and orange effects.
If you want to change some color, then the Mix Tool option is right. There you will see the panel of all the colors from which you’ll be able to change their editing settings, like hue, Saturation, Luminance.
Changing The Light Of The Image
Changing the light effect of the image is not a very difficult thing and this is the most important thing to do in the editing of the image. You all know, presets adjust the light based upon the image, therefore is in order, the balance of light.
Choose the light tool option, then there are many settings of editing you can fix the light, adjust them. Like content, exposure, shadow, black, etc.
How To Download Top 399+ Lightroom Presets Dng And Xmp
Let’s discuss how to download presets. We’ll provide you with detailed information on downloading both dng and xmp files.
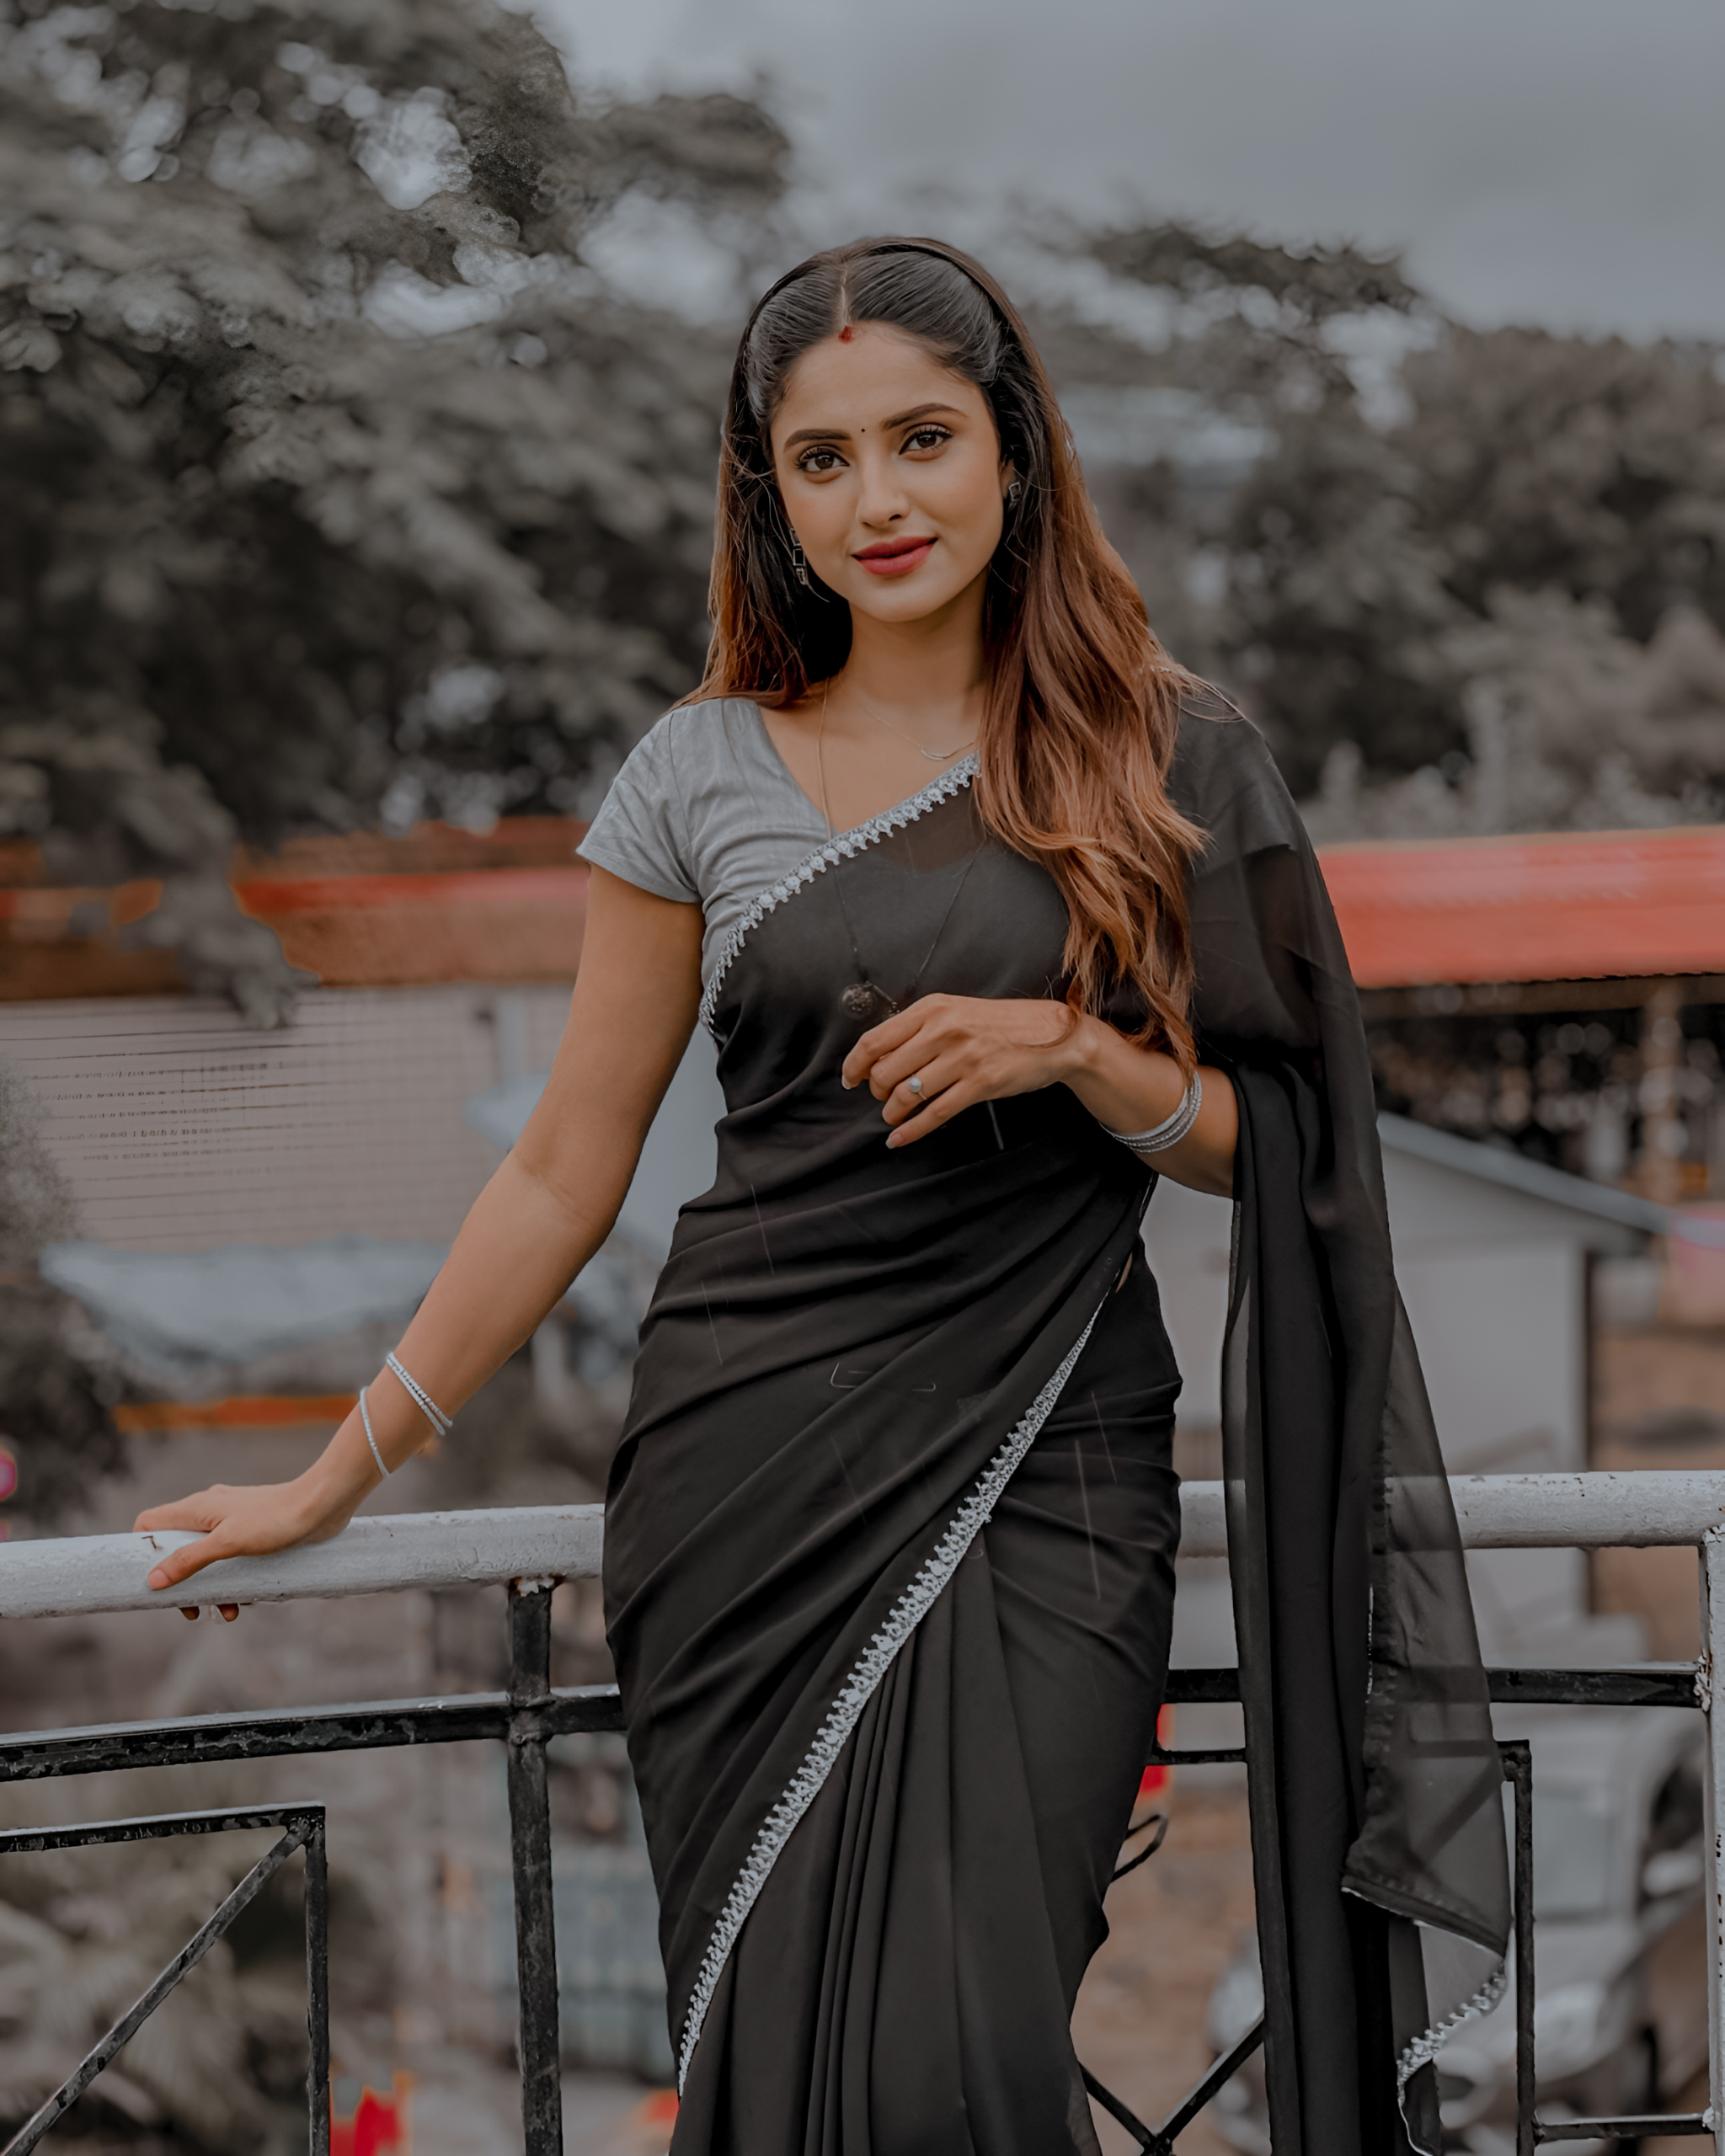
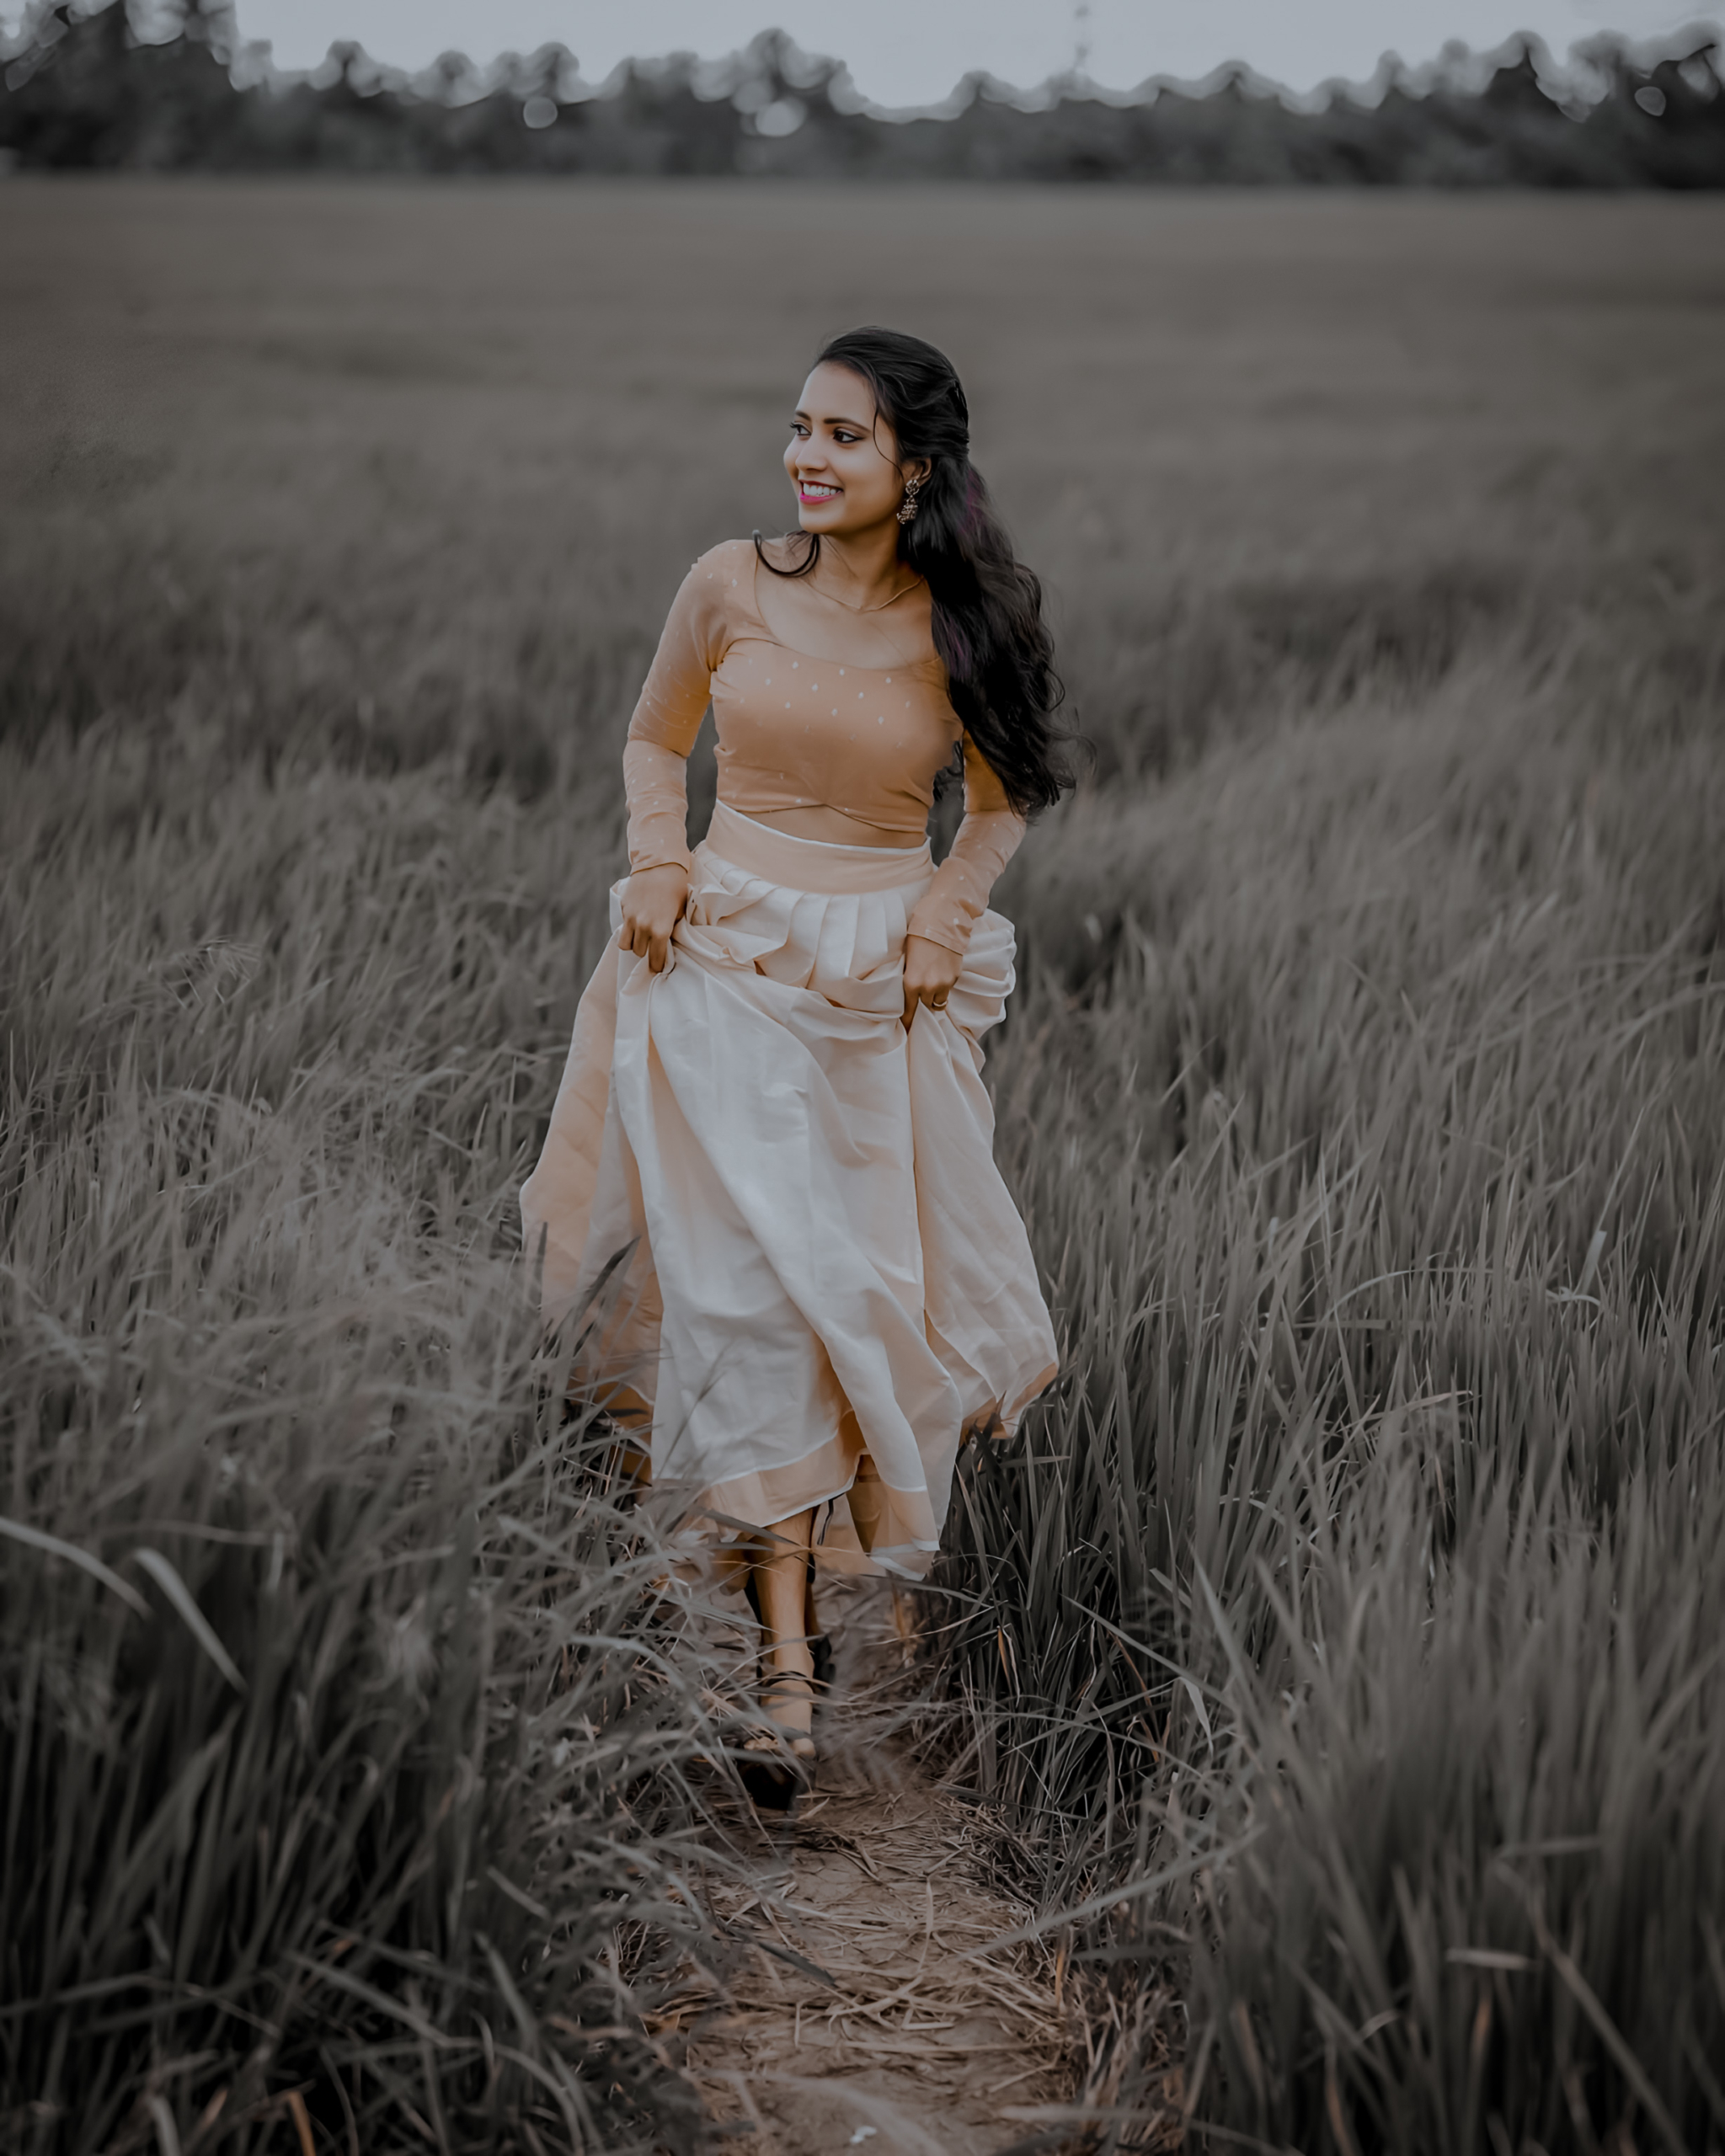
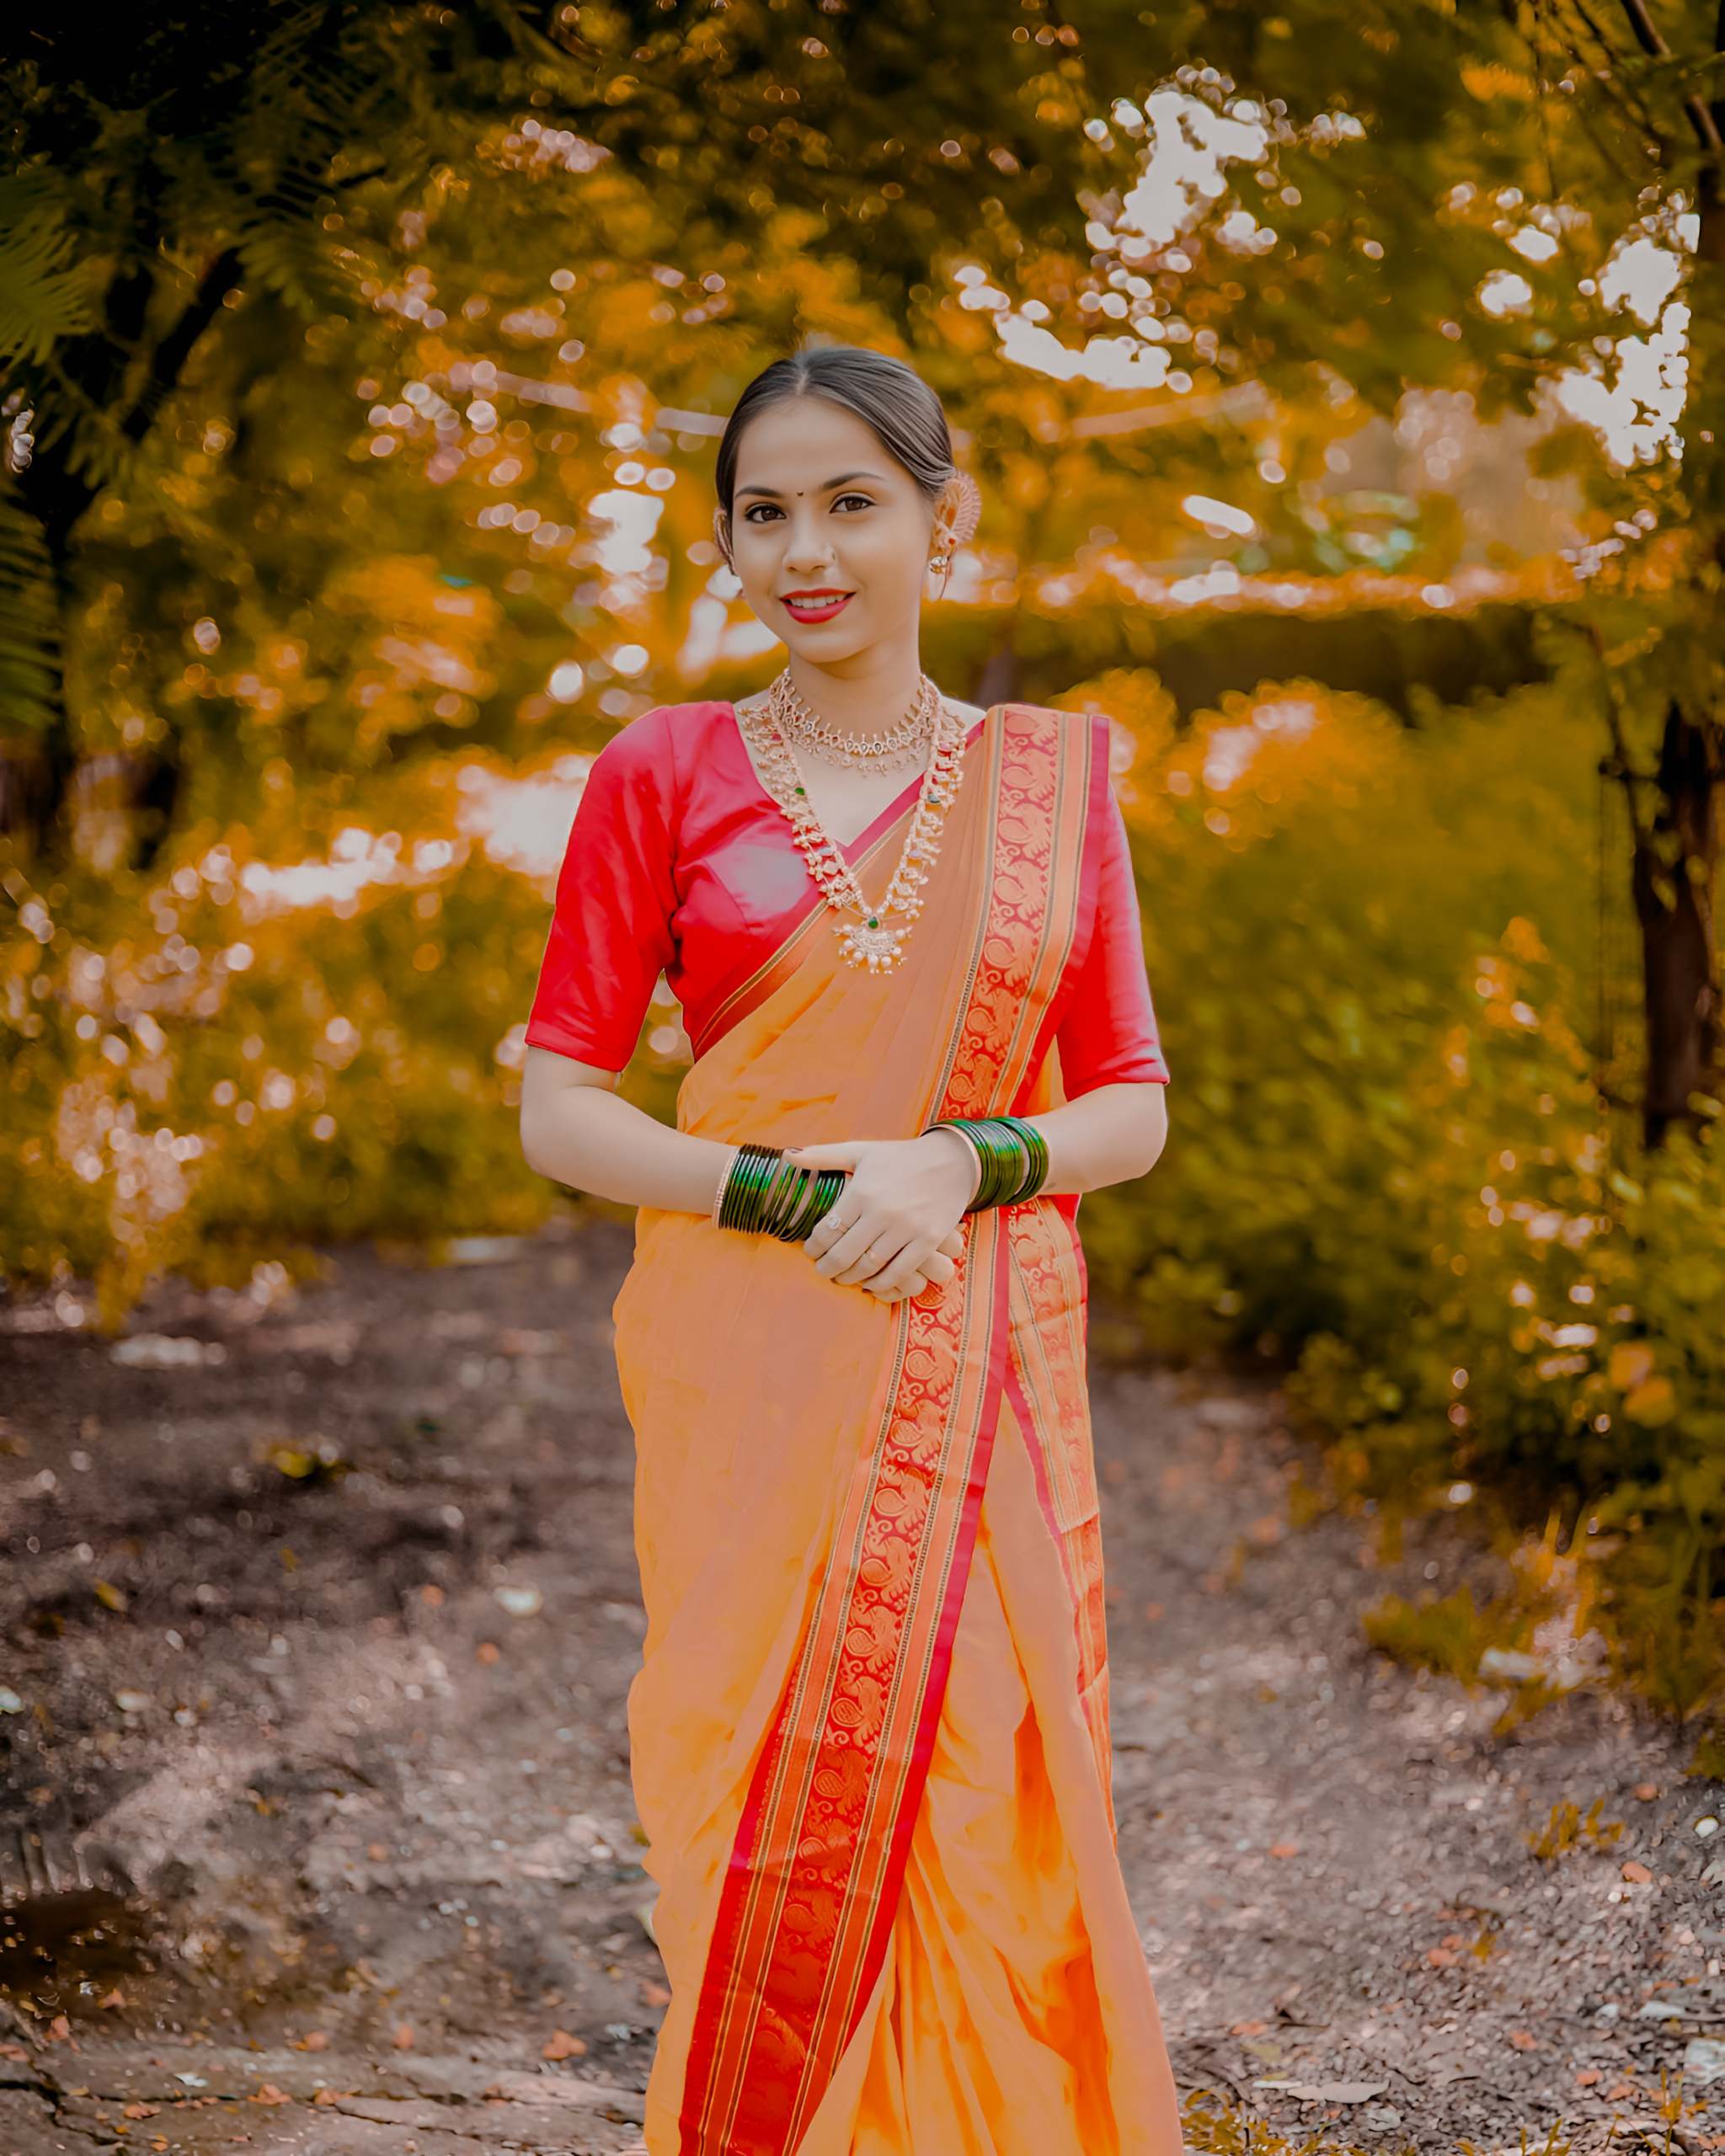
1. Step: In this article, you’ll find images edited with various presets. Take a look at them to determine which preset suits your needs.
2. Step: Once you’ve made your choice, click on the dng download button located at the bottom of the article. This will open Google Drive for you.
3. Step: Next, open the preset photo, and you’ll see a download arrow option at the top. Click on it, and the preset will begin downloading shortly. Just wait until the download is complete. This process is the same for all presets.
4. Step: For downloading xmp presets, simply click on the top 399+ lightroom presets download button and download the zip file from Google Drive.
1.Wedding Portrait Lightroom Presets

2.Dark Area Photography Lightroom Presets

3.Deep Yellow Tone Lightroom Presets

4.Black Tone Premium Lightroom Presets
5.Nature Film Photography Lightroom Presets
6.Street Portrait Lightroom Presets
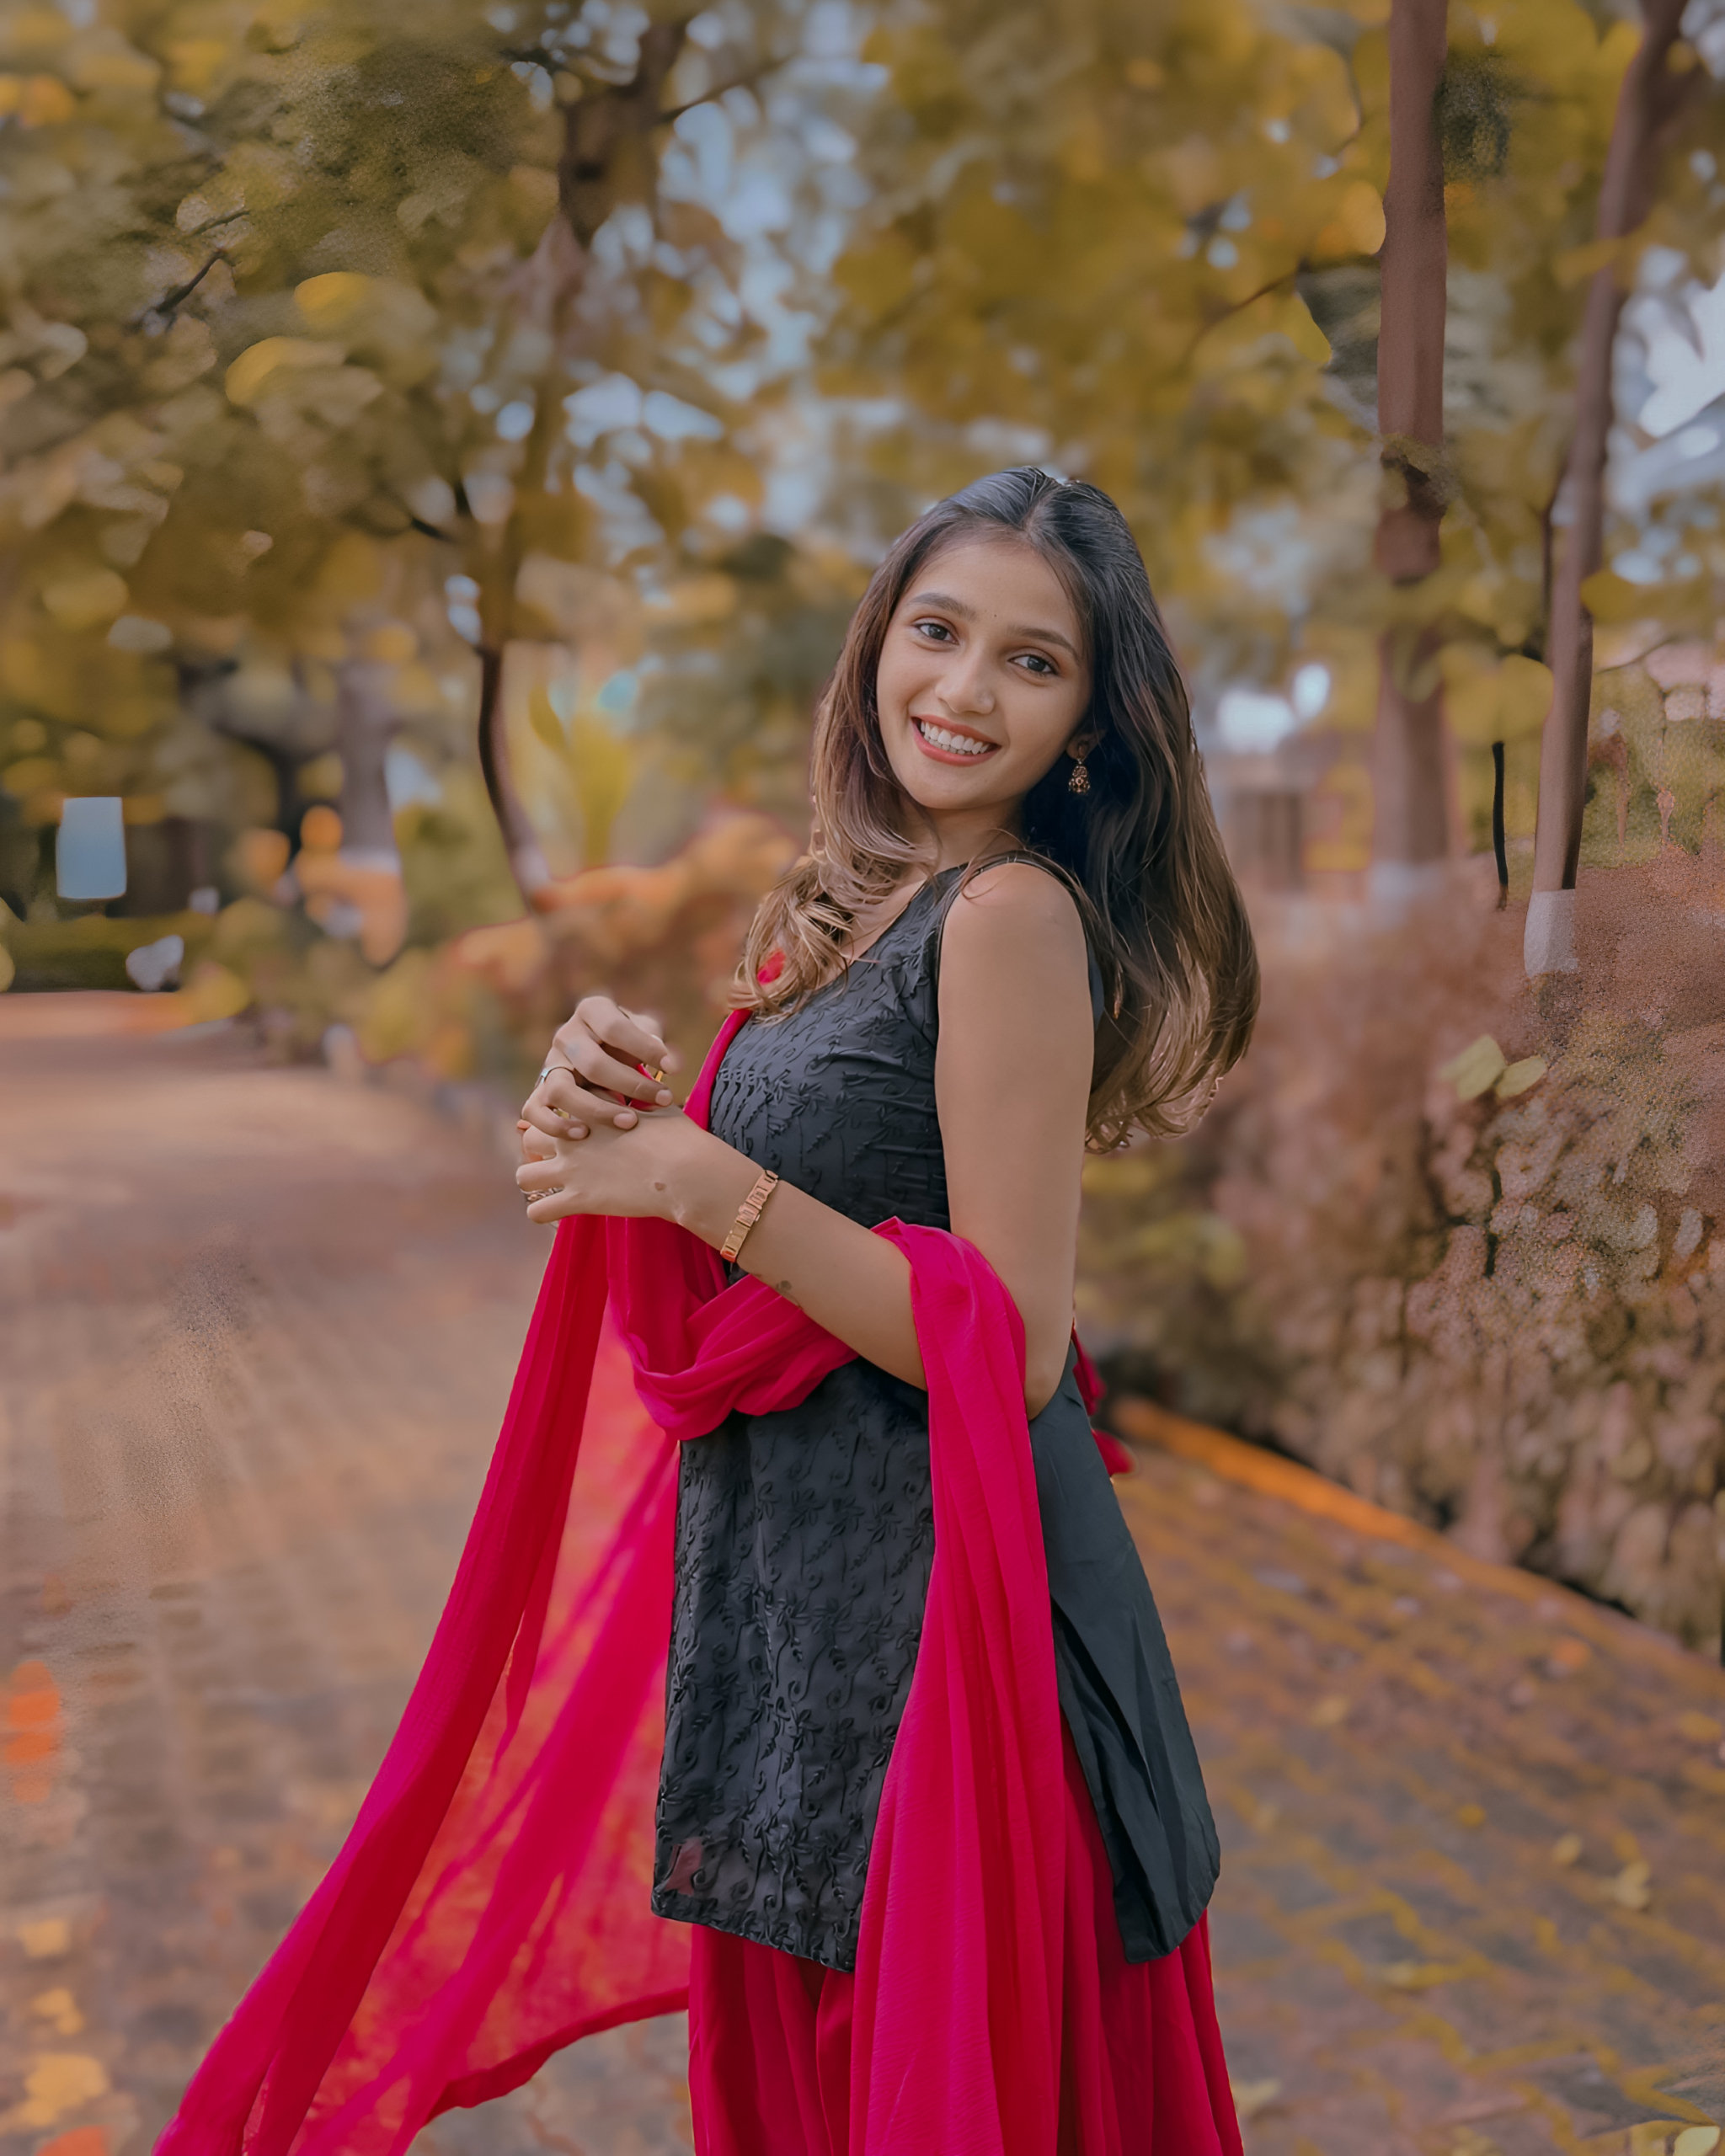
7.Golden Nature Lightroom Presets
8.Fashion Girl Lightroom Presets

9.Blur Photography Lightroom Presets

10.Bright Lightroom Presets

11.Aqua Black Lightroom Presets

My Final Tips For Lightroom Presets
My last recommendation is that you can proceed further in image editing with the help of presets. So don’t miss the chance and grab this opportunity. Perhaps after sometimes this tool may be a paid tool.
Once installed, the presets do not have to be re-installed. So install all the presets and enjoy this image editing tool. Share it with your friends and let them know the capabilities of this image editing tool.
Conclusion
We hope you improved and brightened your pictures with these presets. It also helped in strengthening the editing skills of you, and it simplified the process.
Continue reading important information and help about similar editing in the future. That is why you should join our Telegram channel to be in touch with us forever and wait for new trends.
As soon as there is a new revolution in image editing, we will come and inform you first.
Well, how do you like this article and did you learn anything new from it? If you have faced any problem in downloading, installing, applying then surely you can tell by commenting below, I will solve that problem. Thank you